Step 1: Sign Up and Log In to CallRail
- Go to the CallRail website.
- Sign up for an account if you don't have one already.
- Log in to your CallRail account.
- After logging in, click on the "Account" icon in the top right corner.
- Select "Companies" from the dropdown menu.
- Click on the "Add Company" button.
- Enter the required information about your company and click "Create Company".
Step 2: Installing the CallRail Snippet Code onto Your Website
- Go to the Integrations Tab
- Click on the JavaScript Snippet
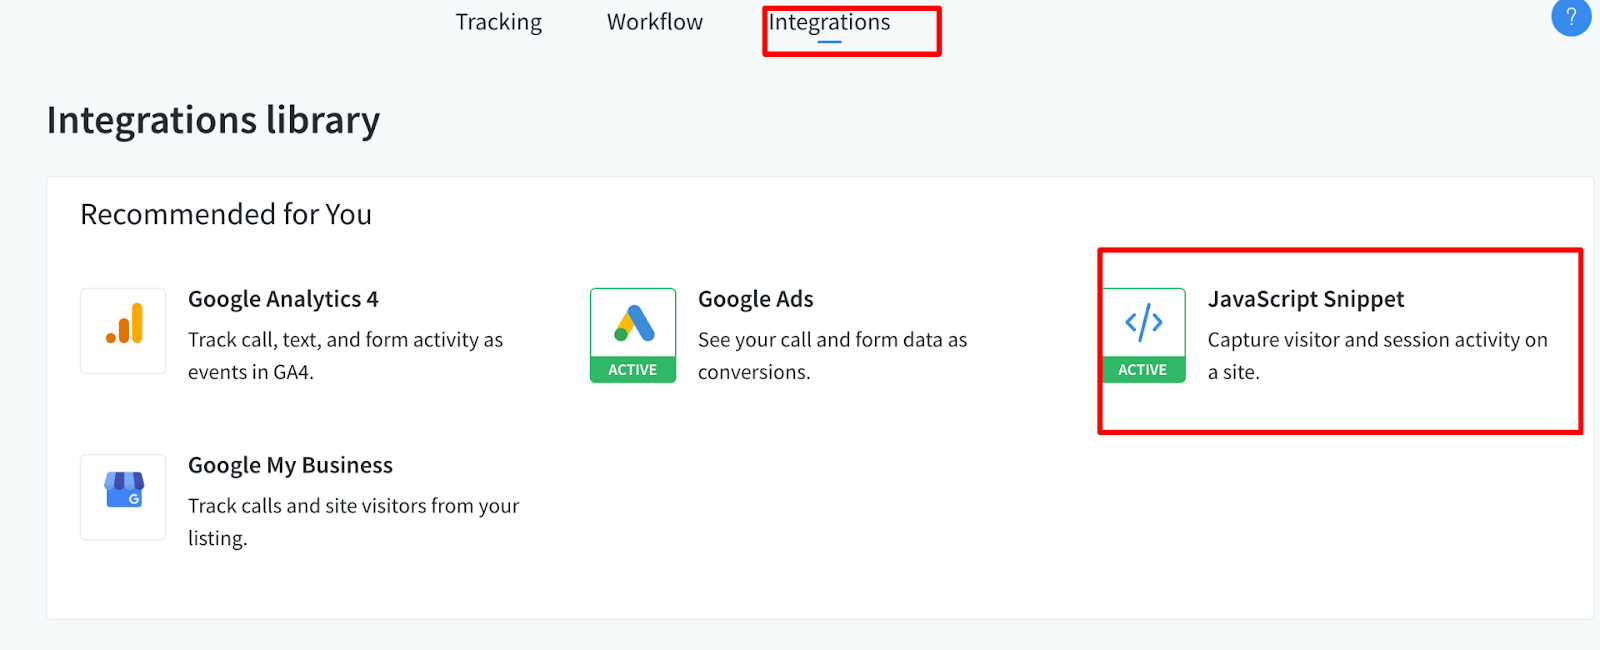
- Copy the CallRail DNI script provided by CallRail.
- Configure Google Tag Manager
- Log in to your Google Tag Manager account.
- Select the container for your website.
- Click "Tags" in the left-hand menu.
- Click "New" and name your tag (e.g., "CallRail DNI").
- Click "Tag Configuration" and select "Custom HTML".
- Paste the CallRail DNI script into the HTML field.
- Set a trigger to fire on "All Pages".
- Click "Save".
- Make sure to publish the changes.
Step 3: Set Up Tracking Numbers
- Navigate to the "Numbers" tab on the left sidebar.
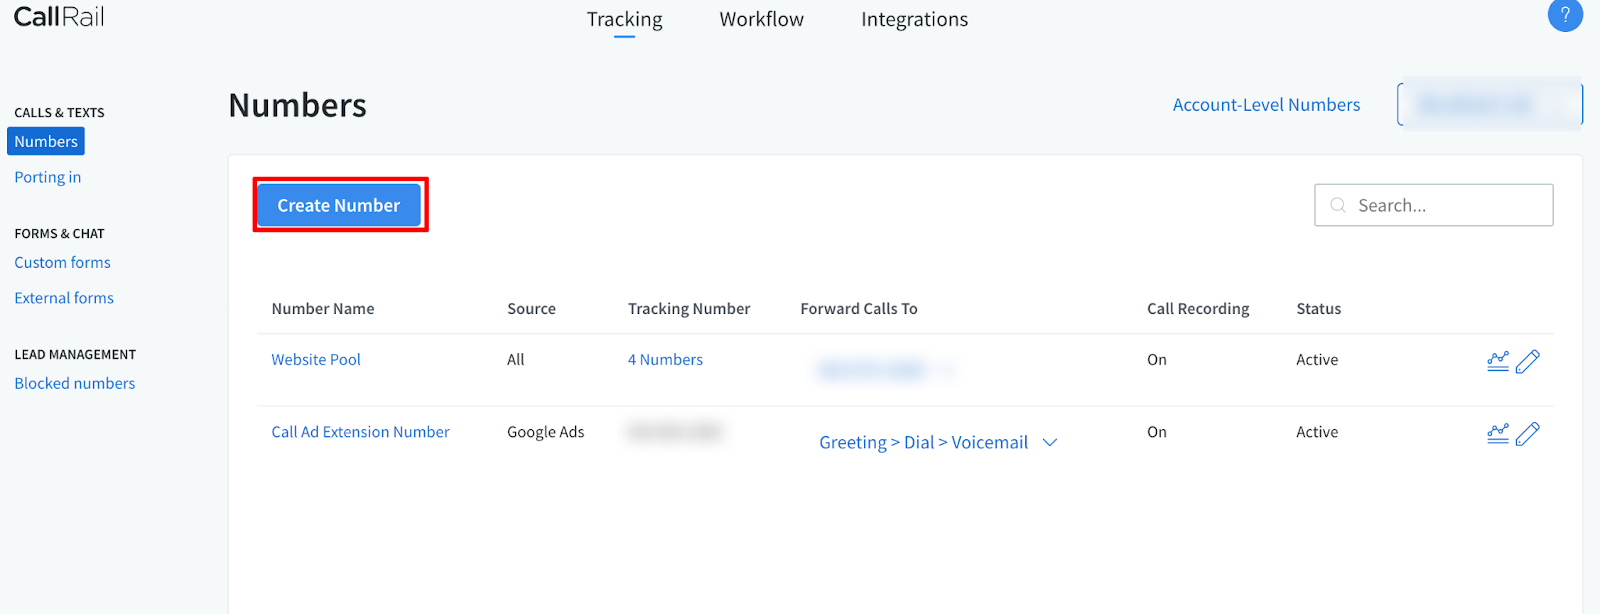
- Click "Add Tracking Number".
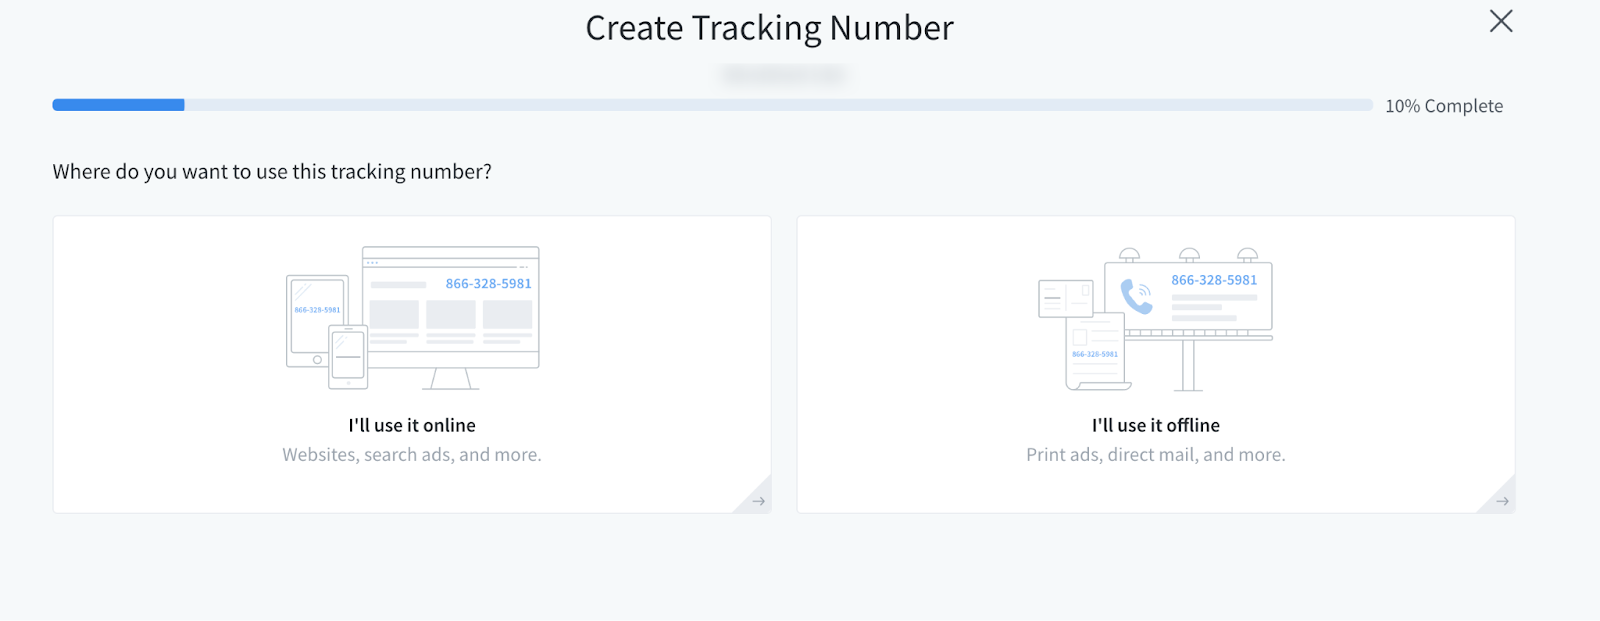
- Choose "Online" for the tracking source.
- Select the company you created earlier.
- Follow the prompts to set up the tracking number. You'll need to:
- Choose a phone number.
- Select "Website" as the call source.
- Choose "Google Ads" for the tracking purpose.
- Configure the destination number (where calls will be forwarded).
Step 4: Integrate CallRail with Google Ads
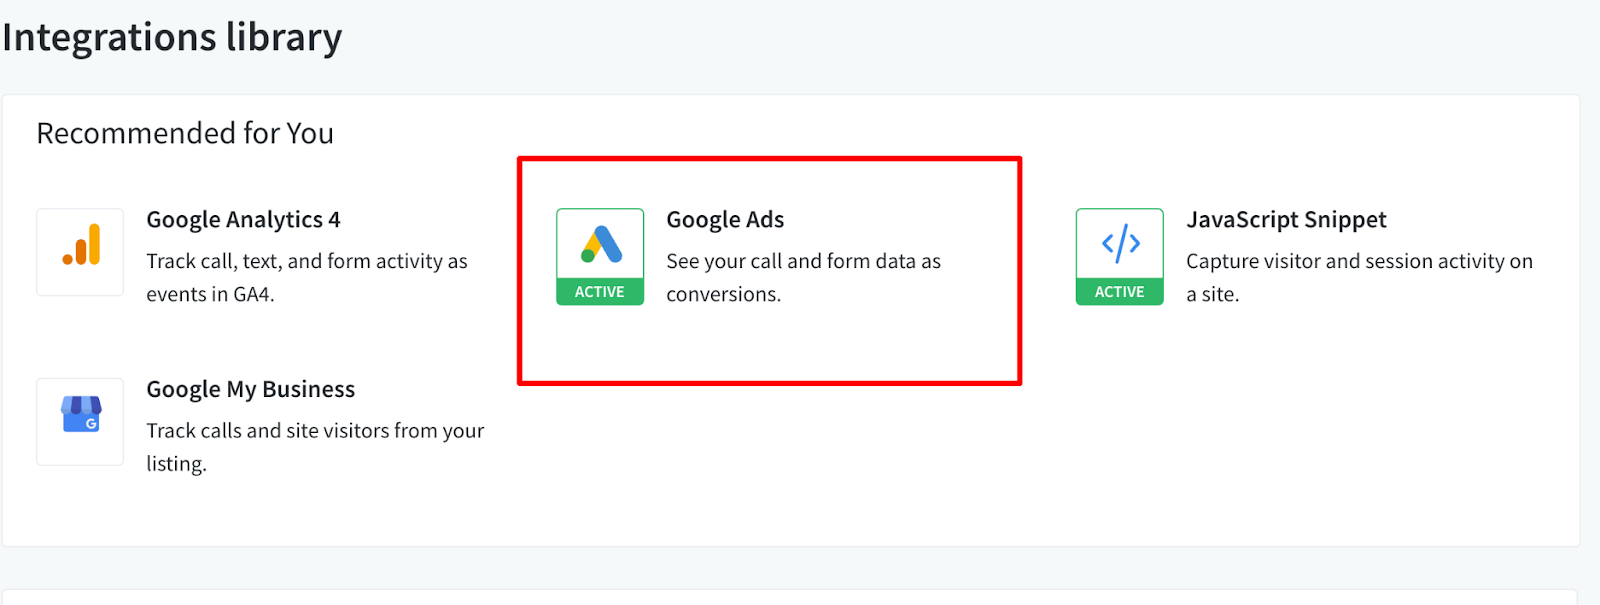
- In CallRail, go to the "Integrations" tab on the left sidebar.
- Click "Google Ads".
- Follow the instructions to connect your Google Ads account:
- Click "Connect" and log in to your Google Ads account.
- Grant CallRail the necessary permissions to access your Google Ads data.
Step 5: Configure CallRail's Google Ads Integration
- Once connected, go to the "Google Ads Settings" within the CallRail integration page.
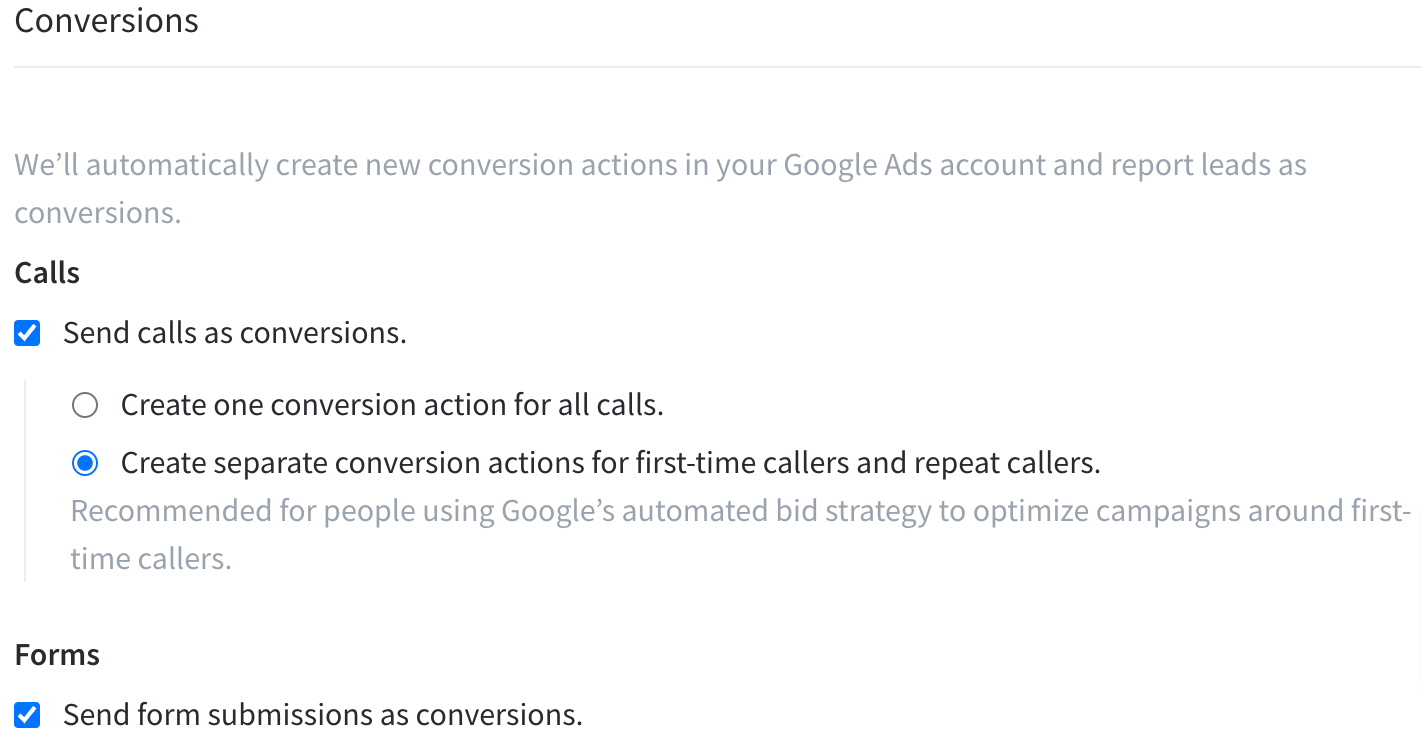
- Check off if you want to track both phone calls and form fills and how you want to track repeat phone callers some text
- We recommend creating two separate conversion actions for first time and repeat callers
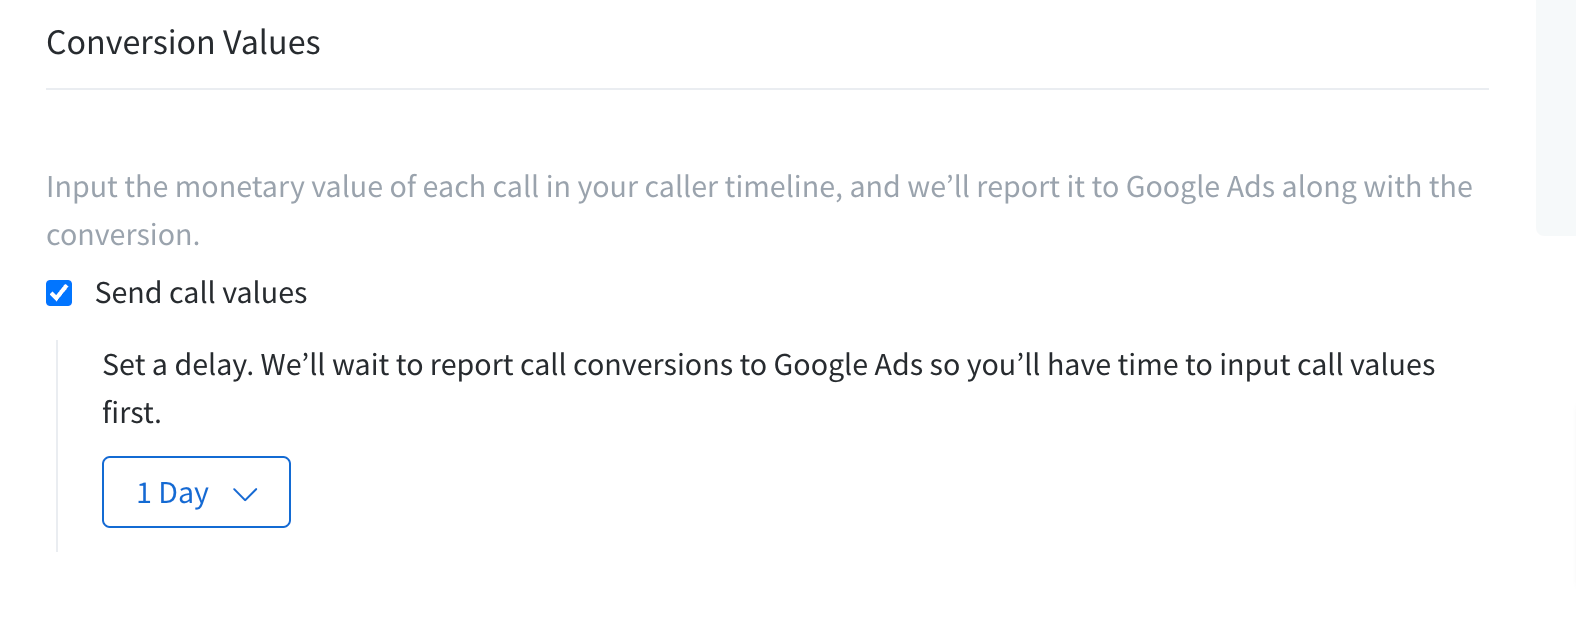
- The next step is to assign when we want the conversion values to be sent back to Google Adssome text
- For many businesses, it may be difficult to assign a specific value to each call immediately, so CallRail allows you to delay when the conversion data is sent to Google Ads.
Step 6: Verify the Setup
After setting up DNI with Google Tag Manager, visit your website using different browsers and devices to ensure the tracking number is being displayed correctly.
Make a test call to the tracking number to verify that the call is logged in CallRail and attributed to the correct Google Ads campaign.
Three additional optimizations to be done to a new account:
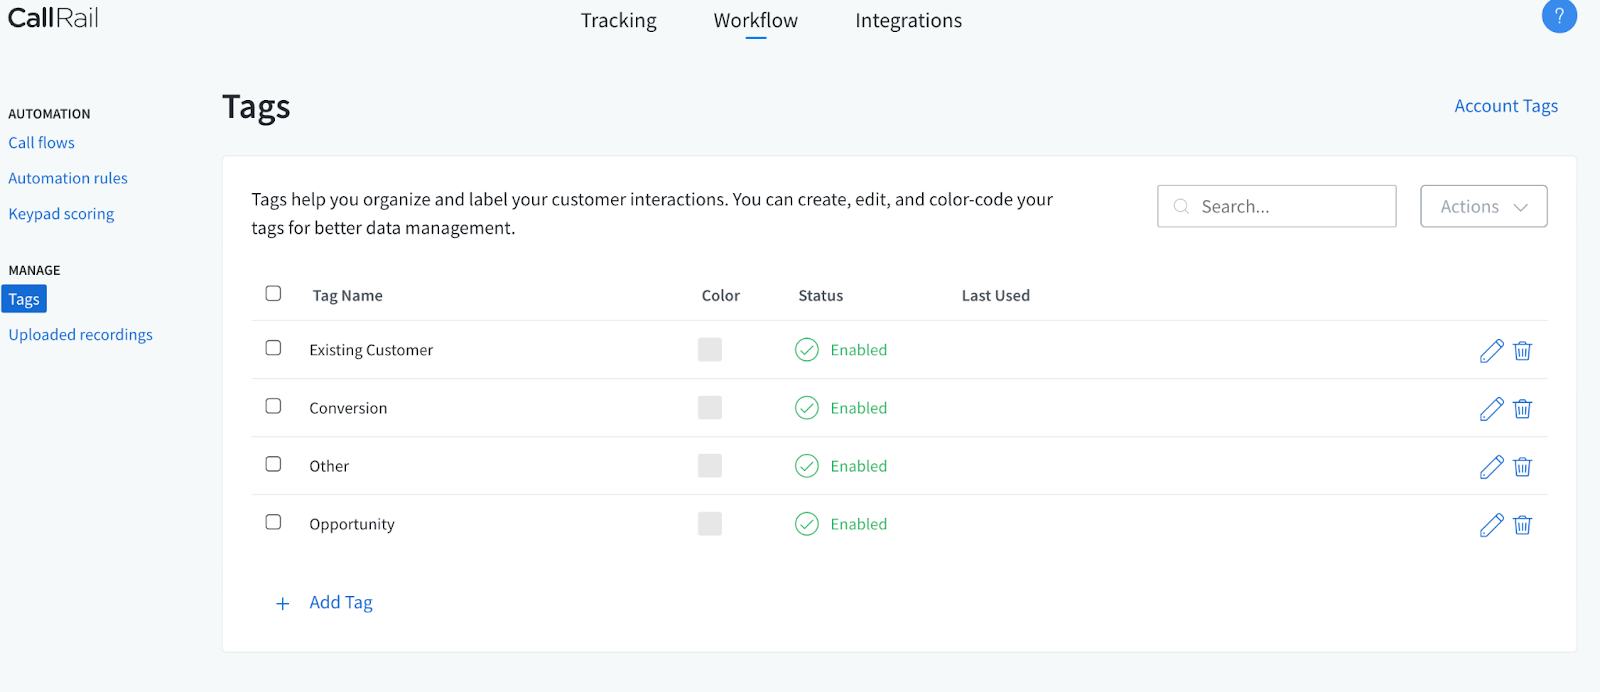
1. Create Tags on CallRail as a way to categorize the types of calls that come into your call system
- Navigate to workflows, and under manage-tags, you can add different types of calls you categorized custom-fit for your business.
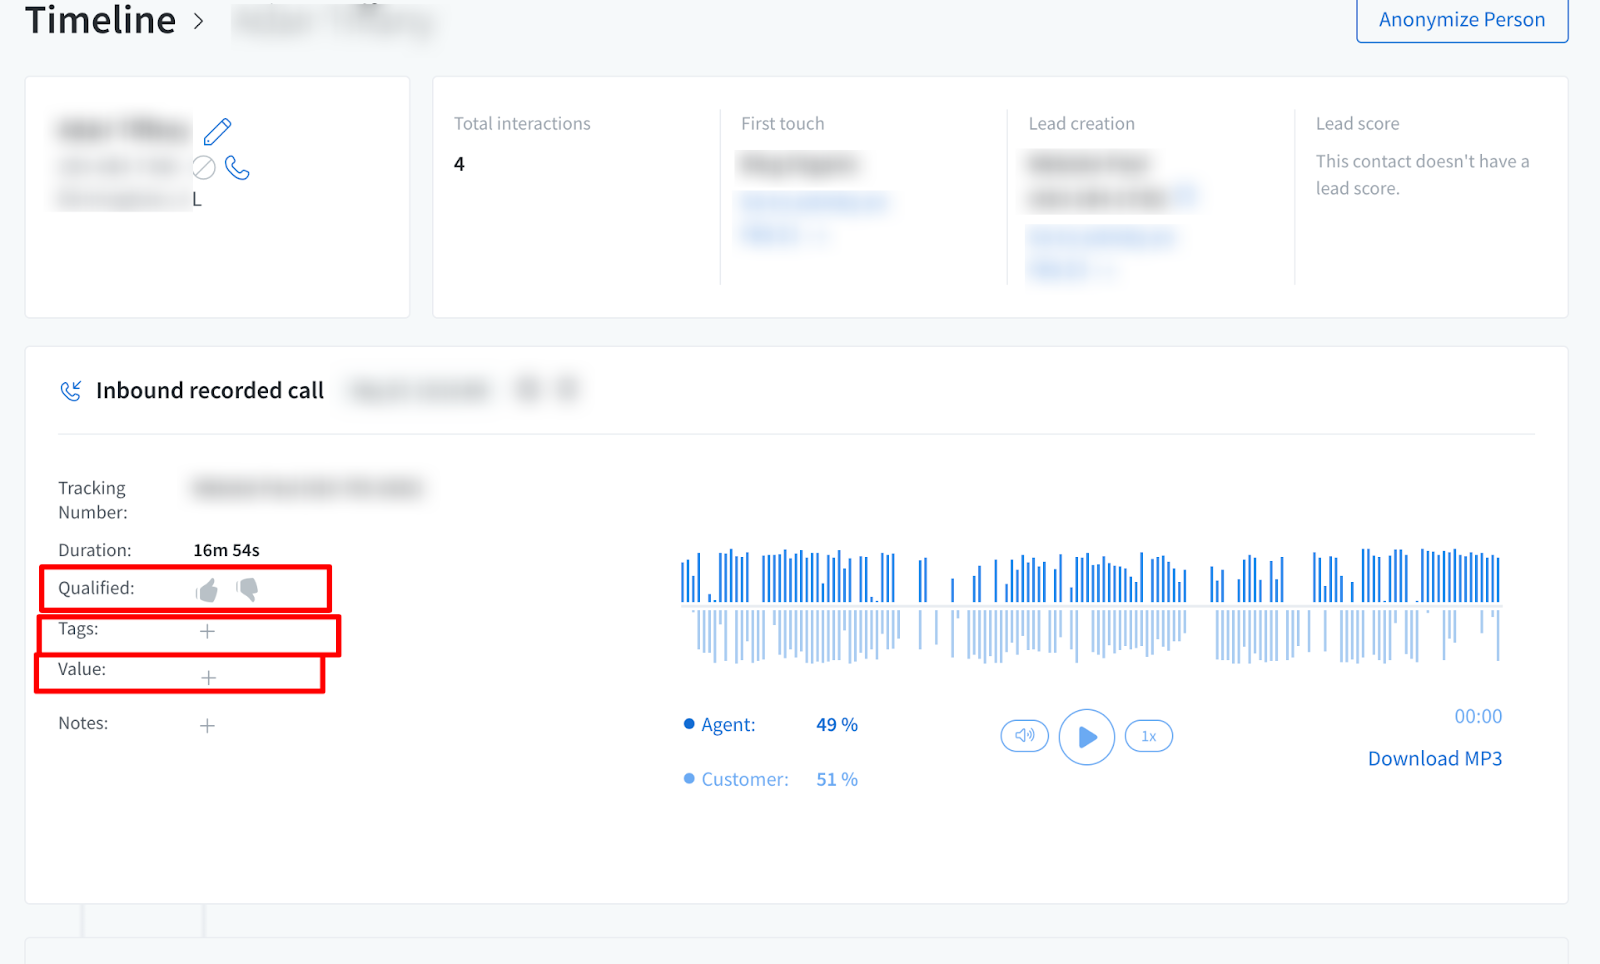
2. For every phone call that comes in we should scoring, the quality, the tag, & the value it brought to our business.
- If you open up the specific phone call, you will see all the customer data of name, phone number, their location, and how they found your business.
- By adding the Value in the field below, you will send that information directly to Google Ads.
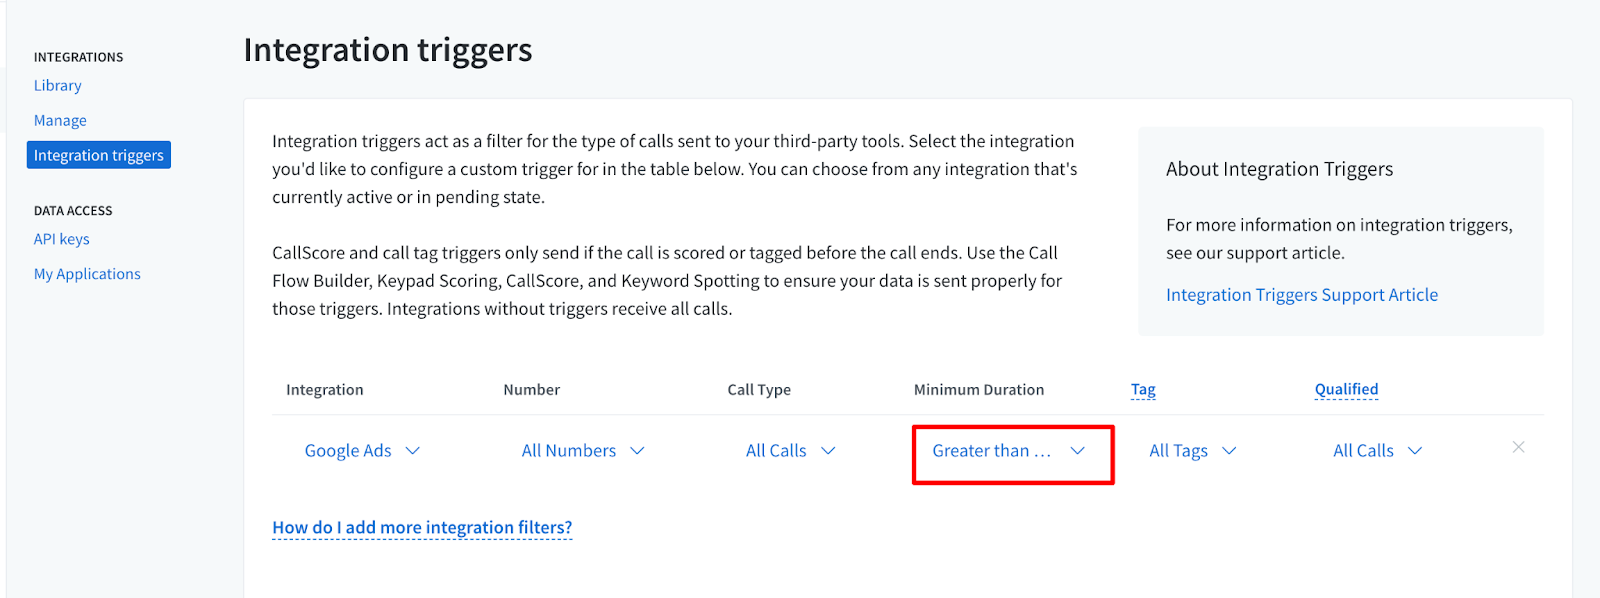
3. You can set a minimum duration on the calls before they fire a conversion.
- Under the Integrations Triggers tab, you can manage that for each phone number in the screenshot below.